How to Safely Buy Used Camera Equipment From Private Sellers Online
· 9 min read
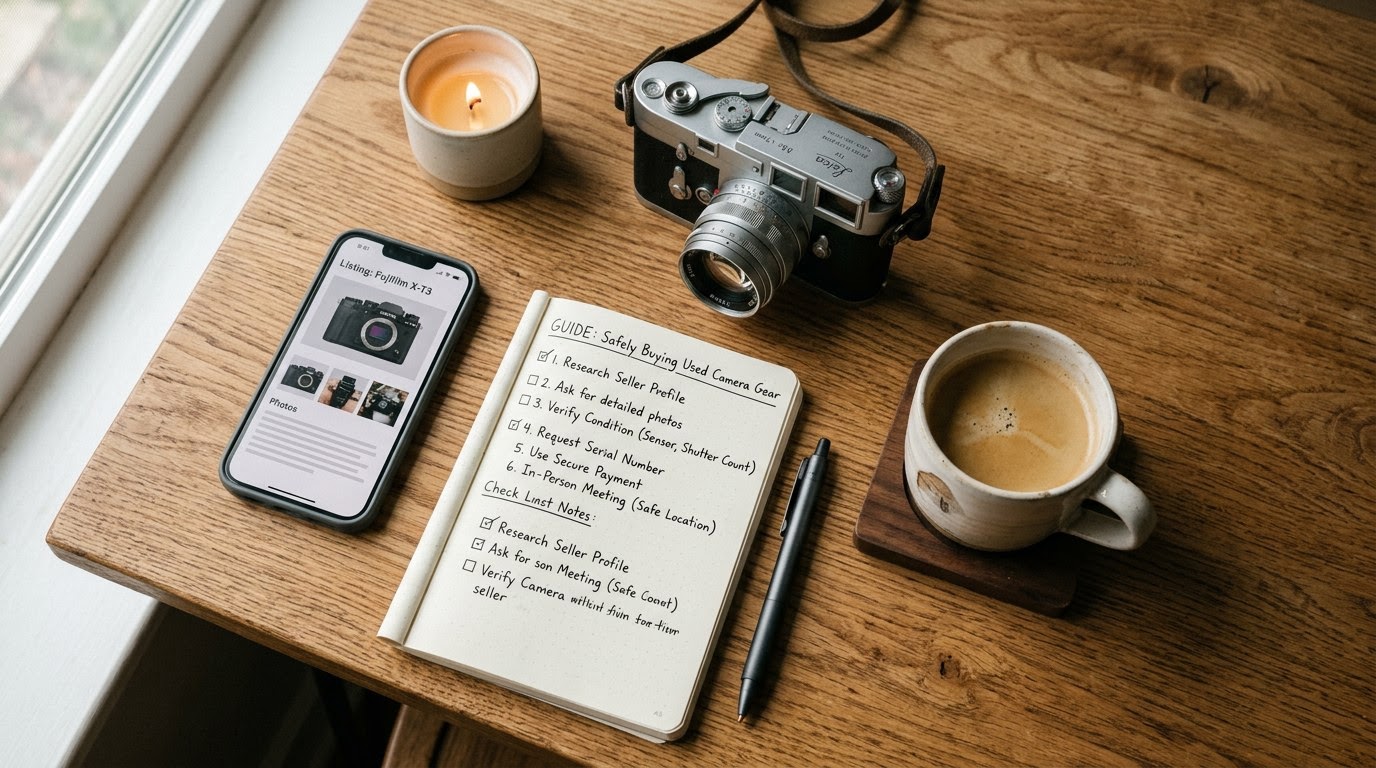
1. Run a TrustCheck to Verify the Seller Identity
Running an identity check on a private camera seller confirms their real name, phone number, and online footprint before you commit time or money to a transaction. Verifying a seller prevents meeting scammers who deploy stolen photos or non-existent gear listings on peer-to-peer platforms. Completing this step establishes mutual trust and flags suspicious anonymous sellers immediately.
Ask the seller for their full legal first name and primary cell phone number or email address before scheduling an in-person inspection. Open TrustMatch, enter their first name and phone number (or email address), and submit the request. TrustMatch checks those details against identity records and returns a TrustScore and a verdict in under a minute.
A high TrustScore means the phone number is tied to the name given and has history behind it. If the seller provides a newly generated burner number, refuses to share basic contact details, or returns a high-risk red verdict, pause the transaction immediately. Legitimate camera sellers operating in local photography communities will willingly confirm their identity to ensure a safe exchange.
2. Request EXIF Data and Fresh RAW Files
Requesting an unedited RAW photo file from the seller allows you to extract embedded EXIF metadata, verify the exact camera model, and confirm the camera serial number matches the listing description. Examining EXIF data proves the seller physically possesses the operational camera right now. It also reveals the true mechanical shutter count, preventing sellers from underreporting wear and tear.
Instruct the seller to take a fresh photo of a hand-written note displaying today's date and your name, saved in RAW format (.CR3, .NEF, .ARW, or .RAF). Ask them to send the uncompressed file via a cloud link like Google Drive or Dropbox rather than messaging apps that strip metadata.
Download the file and open it in photo editing software or an online EXIF reader. Inspect the internal serial number recorded in the metadata headers. Locate the shutter count tag (such as ImageCount or ShutterCount) to confirm the shutter mechanism matches the advertised mileage. If the seller refuses to provide a RAW file or if the metadata shows a different serial number, walk away from the deal.
3. Inspect Camera Sensor and Lens Elements Under Direct Light
Inspecting camera sensors and optical glass under direct illumination reveals hidden scratches, optical fungus, sensor corrosion, and internal element haze that soft ambient lighting conceals. Physical glass defects and coating degradation permanently alter image quality and drastically reduce resale value. Performing a structured optical inspection ensures you discover hidden physical damage before exchanging funds.
Bring a high-lumen LED penlight and a microfiber cloth to your meeting spot. Remove the front and rear lens caps from any lens you are evaluating. Shine the flashlight directly through the front element while looking through the rear element, rotating the lens at varying angles. Look for web-like fungal threads, internal haze, loose dust particles, or balsam separation between glass groups.
To inspect a camera body, remove the body cap and examine the sensor glass under light. On mirrorless bodies, look for micro-scratches caused by improper sensor cleaning, oily smudges from shutter curtains, or chemical etching. On DSLRs, lock the mirror up in manual cleaning mode to expose the sensor. Take a test shot of a plain white wall or bright sky at f/22. Zoom into the captured image on the camera screen; sharp dark spots indicate stubborn sensor dust or permanent glass scratches.
4. Test Mechanical Shutter Performance and Autofocus Tracking
Testing mechanical shutter action and autofocus responsiveness confirms that internal drive motors, optical stabilization units, and sensor readouts function properly under real-world shooting conditions. Camera bodies can power on normally while suffering from failing shutter curtains or misaligned autofocus sensors. Running stress tests on-site verifies mechanical integrity across all continuous drive modes.
Insert a high-speed memory card and a fully charged OEM battery into the camera. Switch the drive mode to continuous high-speed burst shooting. Hold down the shutter button for three full seconds to listen to the shutter cadence. The shutter burst should sound crisp and uniform without mechanical grinding, hesitation, or premature error codes on the top LCD screen.
Test the autofocus system by attaching a working lens and setting the camera to continuous tracking focus (AF-C or AI Servo). Target a moving subject, such as a walking pedestrian or passing car, while holding the back-button focus or shutter half-press. Confirm the focus points snap instantly without hunting or clicking loudly. Switch the camera to video mode to confirm continuous autofocus and in-body image stabilization (IBIS) operate quietly without sensor chatter or thermal shutdown warnings.
5. Match Physical Serial Numbers with Purchase Documentation
Cross-referencing physical serial numbers on the camera chassis, lens barrel, original box, and sales receipt guarantees that you are purchasing legitimate, non-stolen equipment. Serial number verification protects you from unknowingly taking possession of stolen property or grey-market gear lacking manufacturer warranty support. Validating serial digits ensures legal ownership transfer.
Locate the physical serial number stamped into the bottom plate or tucked inside the LCD screen cavity of the camera body. On lenses, check the metallic mount ring or the underside of the barrel near the aperture ring. Compare these physical numbers digit-by-digit against the serial number printed on the original retail packaging barcode sticker.
Ask the seller for the original purchase receipt, invoice, or warranty registration card. Verify that the receipt name matches the seller's verified identity. Run the serial number through stolen equipment registry databases like Lenstag before handing over payment. If the physical serial number appears altered, scraped off, or covered by aftermarket skins, do not complete the purchase.
6. Execute Payment via Purchase-Protected Channels
Paying through secure transaction platforms with buyer protection guarantees financial recourse if gear arrives damaged, mislabeled, or fraudulently described by a private seller. Unprotected payment methods like cash apps or wire transfers leave buyers completely vulnerable to total financial loss. Utilizing buyer-protected invoice services safeguards your investment against deceptive trade practices.
According to 2025 FTC reports, online shopping fraud and private peer-to-peer transaction scams accounted for over $390 million in consumer losses. Protect your money by using payment options that explicitly offer buyer protection for goods, such as PayPal Goods and Services or platform-integrated checkout tools. Never submit payments categorized as "Friends and Family", wire transfers, or cryptocurrency deposits.
Draft a concise electronic invoice or memo field description before hitting send. Include the exact camera make, model, physical serial number, lens inclusions, and listed condition in the payment description line. Keep electronic receipts and seller confirmation messages saved as PDF backups on your phone.
7. Select a Secure Public Location for Gear Inspection
Selecting a safe public testing venue provides a controlled environment equipped with bright lighting, power outlets, and active security oversight. Meeting in neutral high-visibility locations deters criminal activity and allows you ample time to conduct detailed technical testing without feeling rushed. Establishing clear location boundaries keeps both buyer and seller secure throughout the exchange.
Data published by the BBB in 2024 revealed that over 40% of online gear purchasing scams involved non-existent inventory and fraudulent payment requests. Choose exchange locations specifically designed for high-value peer-to-peer transactions. Ideal options include local police station lobbies or designated e-commerce exchange zones in police department parking lots equipped with 24/7 video surveillance.
Alternatively, schedule meetings inside busy bank lobbies or public library study rooms where you can plug in camera chargers and test studio strobe sync ports safely. Avoid private residences, dimly lit parking garages, or late-night meetings. Bring a friend along to watch your personal belongings while you focus on inspecting the photography equipment.
Quick Checklist for Buying Used Camera Gear
Following a standardized camera buying checklist ensures you execute every essential safety and technical inspection step in the correct sequence during a private transaction. Reviewing this quick reference list before meeting a seller prevents overlooked optical defects, skipped identity verification checks, or risky payment choices. Keep this step-by-step procedure accessible on your mobile phone throughout your meeting to maintain total transaction security.
- Verify the seller's legal name and phone number using TrustMatch to generate a safety verdict prior to meeting.
- Obtain a fresh RAW test file to extract EXIF metadata, confirm serial numbers, and verify mechanical shutter count.
- Meet at a public police department exchange zone or bank lobby during daylight hours.
- Shine an LED light through lens elements and across sensor glass to inspect for fungus, scratches, or separation.
- Fire high-speed shutter bursts and test tracking autofocus on moving targets using a fast memory card.
- Cross-reference physical chassis serial numbers against original boxes, sales receipts, and stolen gear registries.
- Send funds exclusively through purchase-protected payment channels with detailed serial number invoice notes.
Summary of Gear Inspection Verification Points
Summarizing optical and mechanical verification criteria helps buyers quickly evaluate physical defects against acceptable wear during pre-purchase gear inspections. Comparing physical symptoms against known red flags enables rapid decision-making while inspecting gear on-site. Use this structural summary matrix to identify dealbreaking mechanical faults instantly.
| Step | What to verify | Red flag if missing |
|---|---|---|
| Seller Verification | Real legal name, phone number, and verified online footprint | Seller uses burner app numbers or refuses identity check |
| Metadata Extraction | Unedited RAW file with matching EXIF serial number and shutter count | Seller provides JPEG-only files with stripped EXIF headers |
| Optical Glass Inspection | Clear lens elements free of internal spiderweb fungus or oil | Haze, internal coating peeling, or oily aperture blades |
| Sensor Surface Check | Clean sensor glass without micro-scratches or cleaning swirls | Permanent physical glass scratches visible at small apertures |
| Mechanical Testing | Continuous high-speed burst operation without shutter error codes | Grinding shutter noises, mirror lag, or Err 20 screen messages |
| Serial Number Audit | Chassis serial matches box sticker, EXIF data, and original receipt | Missing, scraped, or mismatched serial numbers |
| Payment Processing | Protected purchase channel listing full item details and serials | Insistence on cash apps, Zelle, or peer-to-peer wire transfers |
Red Flags During This Process
Recognizing tactical red flags during communication, testing, or payment allows you to abort a dangerous or fraudulent transaction before losing money. Scammers display predictable behavioral anomalies when pressured to verify identity or submit gear for physical testing. Staying alert to these warning signs keeps your financial capital and personal safety intact.
An FBI internet crime study from 2025 noted that non-delivery scams surged by 18% in peer-to-peer marketplaces. Be on high alert if a seller offers top-tier cinema bodies or flagship mirrorless cameras at prices more than 40% below market value. Extreme price discounts are designed to induce hasty, careless buying decisions.
Refusal to meet in a monitored public venue or insistence on bringing an unannounced third party to the exchange indicates a high-risk situation. If the seller claims the camera battery is dead so you cannot turn the body on, or if they insist on payment via irreversible wire transfers before you inspect the gear, end communication immediately. Legitimate sellers respect thorough technical evaluations and transparent payment practices.
As of August 2026, these TrustMatch identity verification and gear inspection steps protect your investment while respecting legitimate photography sellers during private transactions.Frequently asked
How do I check the exact shutter count on a used mirrorless camera?
Request an unedited RAW file shot with the camera. Upload the file into an online EXIF viewer or dedicated shutter count utility. The program reads the internal ImageCount metadata tag embedded directly by the camera's image processor, revealing the exact number of mechanical shutter actuations.
Is optical fungus inside a camera lens repairable?
Minor surface fungus can sometimes be cleaned by a technician who disassembles the optical elements, but severe fungus etches into internal glass coatings permanently. Repair costs often exceed the secondary market value of the lens, making lenses with internal fungal growth a poor investment.
What should I do if the camera serial number is missing or scraped off?
Do not buy the camera under any circumstances. Scraped, defaced, or missing physical serial numbers strongly indicate stolen property or illegal grey-market imports. Purchasing gear without clear serial numbers leaves you vulnerable to legal repossession and prevents official manufacturer service.
Why shouldn't I pay for used camera equipment using Zelle or Cash App?
Peer-to-peer cash payment services lack buyer protection mechanisms for commercial purchases. If the seller provides defective equipment or disappears after receiving funds, these platforms will not reimburse your payment. Always use protected merchant services like PayPal Goods and Services.
How can I tell if a camera sensor has permanent scratches?
Set the camera to aperture priority mode, stop the lens down to f/22, set the ISO to 100, and take a photo of a plain white wall while moving the camera slightly. Review the image on a monitor; sharp black marks that stay crisp at small apertures indicate physical sensor glass scratches.